
Long-term care tips for properly installing your roof is an important topic when it comes to making sure that your home is well protected. Roofs are the most exposed part of a house and require proper maintenance in order to ensure their longevity. Installing a new roof or repairing an existing one requires careful planning and attention to detail, as even minor mistakes can lead to costly repairs down the road.
Contents:
When it comes to properly installing a roof, there are several key steps that need to be taken in order for it to last as long as possible. First off, all shingles should be laid out in rows with each row overlapping slightly on either side of the previous row. This will help create a waterproof seal between the shingles so that water cannot seep through any cracks or crevices during heavy rains or snowstorms. You’ll want to make sure that any nails used for installation are firmly secured into place so they don’t come loose over time due to wind or other weather elements. It’s also important not just nail them into place but also caulk around them afterwards in order keep moisture from getting underneath them and causing damage over time.
Proper ventilation is essential when installing a roof because this allows air circulation which helps reduce humidity levels inside the home while simultaneously helping prevent ice dams from forming on top of the roof during winter months by keeping warm air circulating beneath it at all times. A ridge vent placed near peak along with some additional vents installed around eaves will provide ample ventilation throughout the entire space without allowing too much cold air inside during wintertime months either which could cause condensation problems later down the line if not addressed beforehand. Make sure you have good gutters installed at least 6 inches away from where your shingles start since this will help keep rainwater flowing away from your foundation rather than pooling up against its walls potentially leading structural damage issues further down line if left unchecked.
Assess Your Roof’s Condition

Assessing your roof’s condition is essential when it comes to properly installing a new roof. If you are replacing an existing one, it is important to know the state of the old structure and whether there are any underlying issues that could cause problems in the future. To do this, start by examining all visible surfaces for damage or signs of wear and tear. Look for cracks, missing shingles, loose nails, water spots or other imperfections that may need attention before installation begins.
Inspect your attic too – check for any signs of moisture or water infiltration from outside sources like rain or melting snow. Make sure vents and gutters are clear of debris as well as functioning correctly so that they don’t interfere with proper drainage on your roof surface during heavy rainfall events. Look around at nearby trees or vegetation to make sure nothing can potentially fall onto your roof during storms which could lead to further damage down the line if not addressed now prior to installation.
Contact a professional roofer who can provide a thorough assessment and detailed report about the overall condition of your current system so you have peace-of-mind knowing what needs repair before proceeding with a new installation project. This will help ensure everything is in good shape prior to taking on such an important job and give you more confidence in getting quality results.
Choose the Right Materials

When it comes to roof installation, the choice of materials is essential. Not only will they affect the look and feel of your home, but also its durability in different weather conditions. To ensure that your roof lasts for a long time, you should opt for top-grade materials such as asphalt shingles or metal sheets. Asphalt shingles are one of the most common types of material used for roofs due to their affordability and ease of installation. They’re made up of layers that protect against moisture damage and provide insulation from extreme temperatures. Metal sheets can be more expensive than asphalt shingles but offer greater protection from hail, wind, snow and other harsh weather conditions since they’re thicker and sturdier than asphalt shingles.
No matter what type of material you choose, make sure it has been approved by local building codes so that you don’t have any issues with compliance down the line when reselling your property or having repairs done on it later on. Consider factors like noise reduction if you live in an area prone to loud thunderstorms or hail storms so that sound won’t be an issue while installing them over wood sheathing boards or plywood panels to add extra support beneath them. Check out warranties provided by manufacturers in case anything goes wrong during installation or within a certain period after it’s completed – this could save you a lot money down the line.
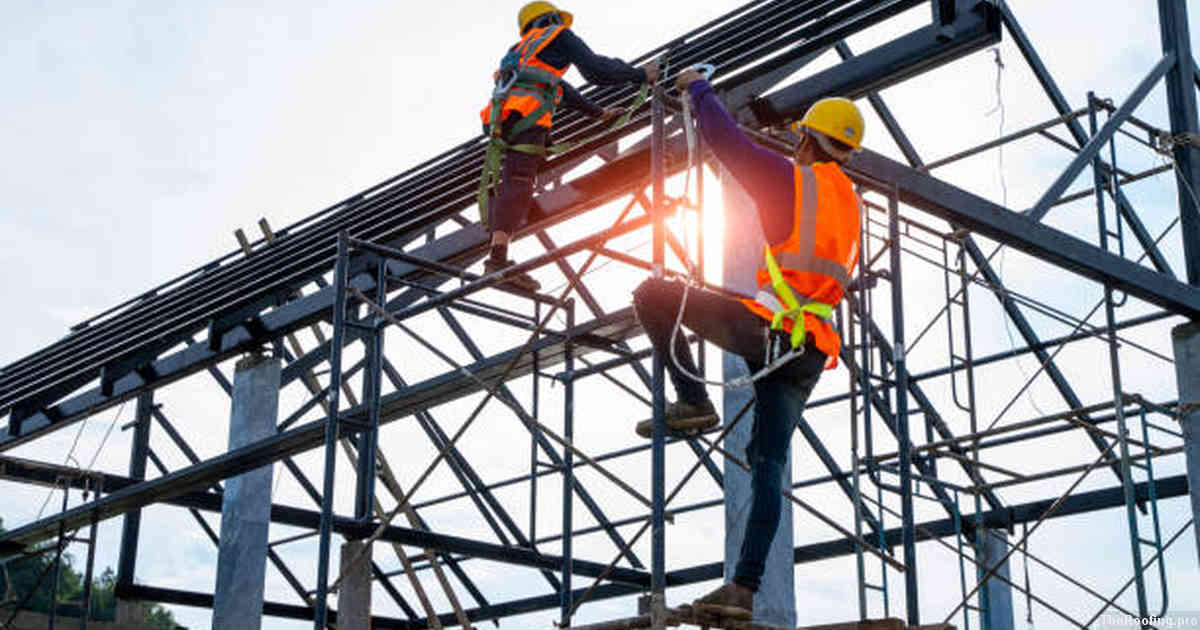
Get Professional Assistance

When it comes to installing a roof, it is important to seek professional assistance. A qualified contractor will be able to ensure the job is done correctly and that your new roof has been installed safely and securely. Professional contractors can also provide advice on materials, methods, and design options that may not be available when attempting a DIY installation. They are knowledgeable about local building codes which need to be followed for safety reasons.
By hiring professionals you can save yourself time in the long run as they have experience with installations of this type and can often anticipate potential issues before they become problems during the installation process. Most reputable contractors guarantee their workmanship so if any issues arise down the road you are covered.
While getting professional help may seem like an additional expense upfront, it could potentially end up saving you money in the long run due to fewer mistakes or delays caused by DIY attempts at complex tasks such as installing roofs properly. With experienced professionals handling all aspects of your roofing project from start-to-finish you will have peace of mind knowing that everything was done right according to industry standards.
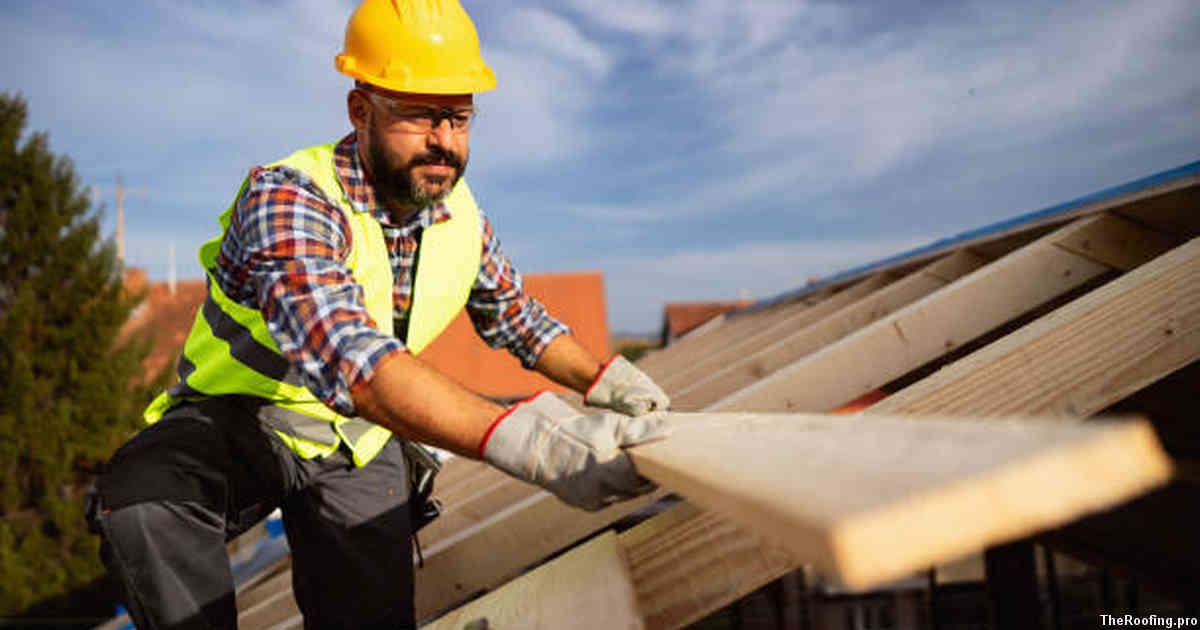
Properly Prepare for Installation
Before beginning the process of installing a roof, it is important to properly prepare for the job. It is essential to measure the area that needs to be covered and determine how many shingles will be needed. Make sure you have all of the materials necessary on-site before starting, including tools such as ladders and hammers, nails, flashing and roofing cement. Make sure any debris from previous roof installations has been cleared away from your work area prior to beginning installation.
It is also important to take safety precautions when installing a new roof in order ensure both yourself and those around you are protected throughout the entire process. Wear protective eyewear while working with sharp objects like nail guns or cutting into tiles or metal sheets; additionally wear gloves when handling heavy materials so as not risk causing damage due to slippage or strain injuries. Avoid attempting any sort of dangerous maneuvers such as walking across wet roofs without assistance; instead hire an experienced contractor who can do this safely and efficiently for you.
Install Flashing and Underlayment
When it comes to properly installing a roof, one of the most important components are flashing and underlayment. Flashing is a thin layer of metal that runs around chimneys, dormers, vents, skylights and other areas where water might penetrate your roof. It should be installed before any shingles or tiles are added. Underlayment is another layer of material underneath the shingles or tiles that acts as an extra barrier against moisture from rain and snow. Installing both correctly can help prevent damage from water seeping into your home’s interior over time.
It’s essential to follow the manufacturer’s instructions for both flashing and underlayment installation for maximum protection against moisture penetration. It’s also critical to use high quality materials when purchasing these items since they will be exposed to extreme weather conditions over long periods of time. You may need special sealants depending on what type of surface you have chosen; make sure to consult with a professional if you have any questions about proper installation techniques or which product will work best in your situation.
It’s important to inspect both flashing and underlayment regularly once they are installed on your roof in order to catch small issues before they become larger problems down the line. A visual inspection every year during winter months can help identify potential issues so repairs can be made quickly before further damage occurs due.
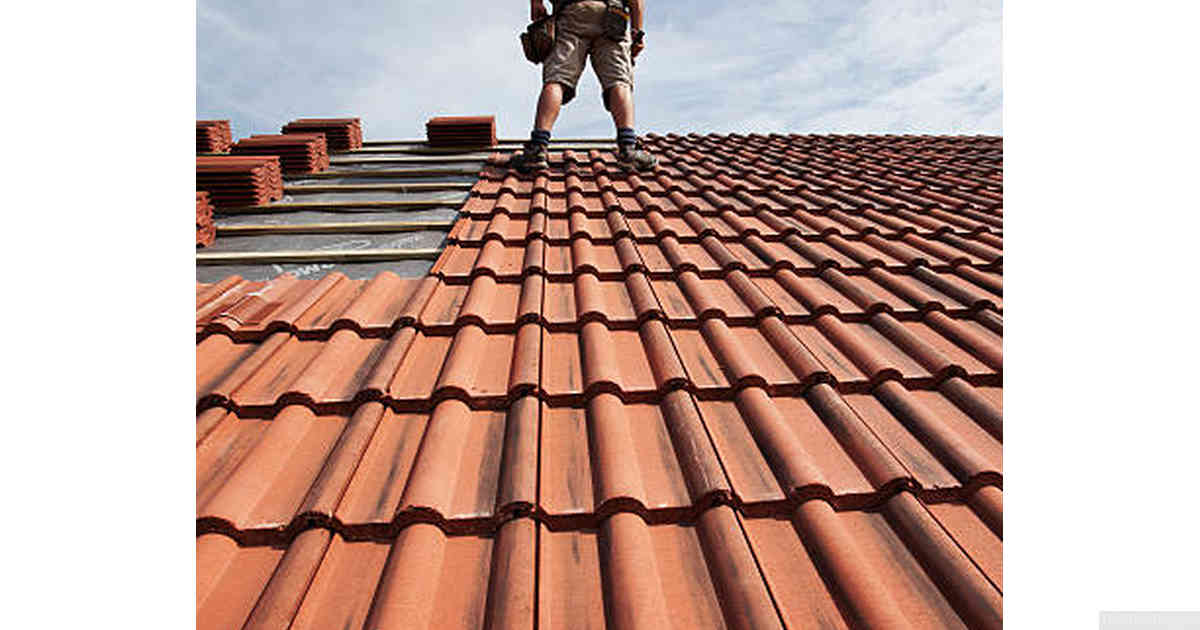
Install Shingles or Tiles Carefully

One of the most important tips for long-term care when it comes to your roof is to install shingles or tiles carefully. If you are going to do this yourself, make sure that you have a clear understanding of what needs to be done and use the proper tools. It’s also important that you take all necessary safety precautions such as wearing gloves, goggles, and other protective gear while installing them.
When installing shingles or tiles on your roof, pay attention to any unevenness in their placement and ensure they fit securely onto each other. Make sure that there are no gaps between them as these can lead to water seepage over time which can damage both the interior of your home as well as its exterior walls. It’s essential that all nails used during installation are not exposed since they could rust over time due to exposure from rainwater.
Make sure that you follow any manufacturer instructions when applying sealant around the edges of each tile or shingle in order to prevent any water leakage through cracks in their seals. Taking extra care during this step will save you money down the line by preventing costly repairs due to mold buildup caused by leaks inside your home’s walls or ceiling.
Check All Seams & Joints for Leaks

If you’re considering installing a new roof, it is essential that the job is done right. This means making sure all seams and joints are properly sealed to avoid any future leaking or water damage. To do this, be sure to inspect your roof thoroughly before installation. Check for any signs of existing leaks such as discoloration on the ceiling below or peeling paint on walls near the edges of the roofline. Examine areas where two pieces of material come together; these are prime spots for potential leaks due to improper sealing.
It may also be wise to have an expert take a look at your existing roof prior to beginning any work in order to gain insight into what type of sealant will provide optimal protection against moisture intrusion in each location. Once your project is complete, make sure you perform regular inspections every few months throughout its lifetime in order ensure that everything remains properly sealed and functioning as intended without compromising safety or performance standards over time.
Finish With Professional Clean-Up
Once the roof installation process is complete, it’s important to finish with a professional clean-up. This helps ensure that your home looks its best and that any debris from the installation is cleared away. To make sure everything looks spotless, use a pressure washer to clear away any dirt or dust on the outside of the house. You can also sweep up around windowsills, gutters, and other areas where debris may have accumulated during the installation process.
If you’re replacing shingles, be sure to properly dispose of them so they don’t end up in landfills or otherwise polluting the environment. It’s often possible to recycle old asphalt shingles by taking them to a local recycling center; check with your municipality for more information on how this works in your area.
Inspect all of your work one last time before calling it done; if anything needs tweaking or repair now is the time to do it. Taking these few extra steps at the end will help ensure that you enjoy long-term satisfaction from your new roofing system for years down the road.