
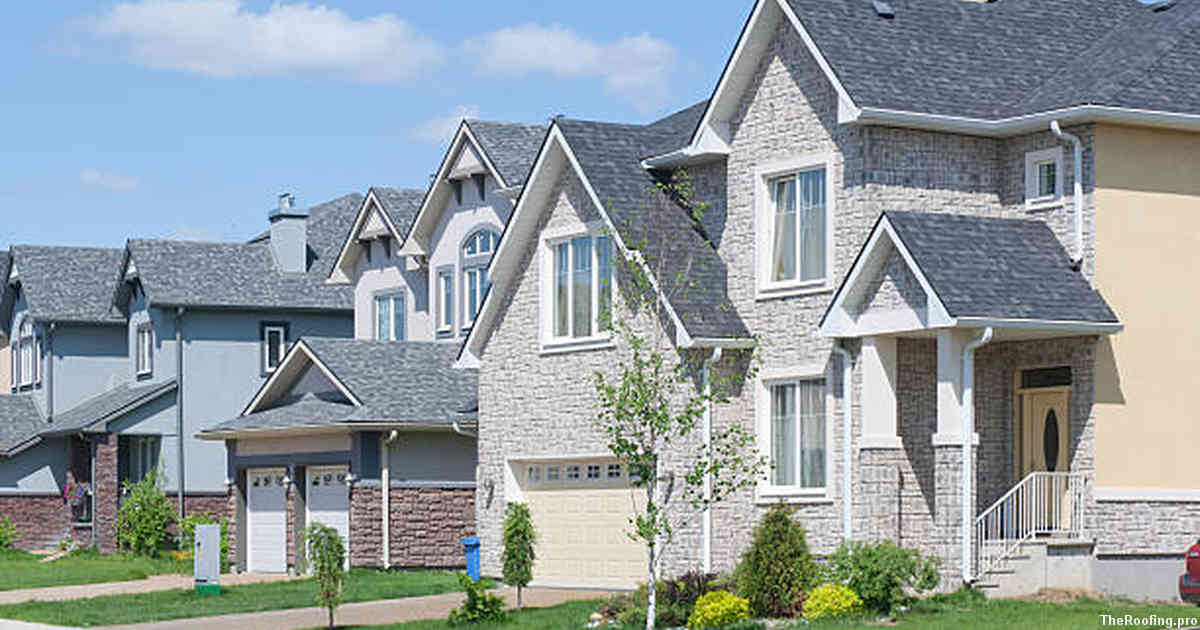
TPO & EPDM membranes are a popular choice for commercial and residential roofing applications. They offer superior protection from the elements, as well as excellent durability and longevity. These materials have been used in roofs since the 1970s, so there is an extensive history of success with them.
Contents:
When it comes to TPO & EPDM membrane installation, one of the most important aspects is ensuring that proper seaming and flashing requirements are met. Seams refer to where two pieces of material come together, while flashing refers to special coverings or protective layers applied around penetrations like skylights or vent pipes.
In terms of seam types, hot-air welded seams are often recommended when working with these materials because they create strong bonds between sheets that won’t easily separate over time due to weather conditions or other stresses on the roof system. All seams should be reinforced with tape and covered with a sealant in order to ensure watertight integrity.
Flashing can also help protect against leaks by providing additional coverage around vulnerable areas such as skylights or vents where water may enter if not properly sealed off. Flashing can also prevent debris buildup around penetrations which could lead to clogs in drainage systems below the roof surface. In general, flashings should overlap at least 6 inches beyond any penetration point and be securely fastened down using appropriate fasteners like screws or nails (or both).
It’s essential that you use high quality adhesive when installing TPO & EPDM membranes for your roofing project – this will help provide maximum adhesion between sheets which helps keep out moisture more effectively than relying solely on seams alone for waterproofing performance over time. The right adhesive will also make sure that your entire job stays intact despite temperature changes or heavy winds throughout its lifespan without having to worry about additional maintenance needs down the line either.
What are TPO & EPDM Membranes?
TPO and EPDM membranes are two of the most popular roofing materials used in residential and commercial buildings. TPO stands for thermoplastic polyolefin, which is a single-ply membrane that has gained popularity due to its flexibility, durability, and affordability. It’s designed with an energy efficient layer on top of it to protect against UV rays as well as extreme temperatures. The material itself is highly resistant to tearing, punctures, mold growth and other environmental damage.
EPDM stands for ethylene propylene diene monomer rubber membrane which is made up of three different layers including a base sheet with adhesive backing on one side and a protective fleece fabric or scrim layer on the other side. This type of roofing material can be applied using hot air welding techniques or contact adhesives such as butyl tape or asphaltic based mastic sealants depending on what type of substrate you have. Both TPO and EPDM membranes offer excellent protection from water intrusion while also providing superior thermal insulation benefits when compared to traditional shingle roofs.
Benefits of Seaming & Flashing
Seaming and flashing are important steps in the installation of TPO & EPDM membranes for roofing. Seams provide a waterproof barrier, while flashings ensure water drains away from vulnerable areas like chimneys and skylights. But aside from providing protection against water damage, there are other benefits to using seaming and flashing during the installation process.
One advantage of proper seaming is that it helps extend the life of your roof system. By creating a secure seal between panels or shingles, seams can help reduce leaks by keeping out debris such as leaves, twigs and dirt. This reduces wear on your membrane over time, allowing you to enjoy greater longevity from your roofing investment. In addition to this, properly sealed seams also prevent air infiltration which can cause drafts in colder months or an uncomfortable living environment year-round due to high energy bills associated with inefficient cooling systems during warmer months.
Another benefit of flashing is improved aesthetic appeal for your home or business building exterior appearance due its ability to cover exposed joints between materials such as siding and eaves troughs making them virtually invisible once painted with matching colors that blend into existing finishes surrounding them adding value aesthetically pleasing view for potential buyers if selling property down the road. Since many flashing products come with warranties up to 10 years long depending on brand, this provides further peace-of-mind knowing you have reliable protection against harsh weather conditions all throughout these warranty periods saving money long term should any costly repairs be necessary when dealing with damages caused by storms etc.
Preparing the Surface for Seaming

To ensure the success of seaming and flashing a tpo or epdm membrane, it is important to properly prepare the surface. Before any type of adhesives are used, surfaces must be cleaned and dried thoroughly. Grease, dirt, oils and other contaminants should be removed from the area before seaming can begin. For optimal results all surfaces should also be roughened up with an abrasive material like sandpaper or wire brush to allow for better adhesion.
Once prepared correctly with proper cleaning and roughening agents; various seam tapes can then be applied in order to form a secure bond between two pieces of roofing membranes. These tapes come in both single-sided (for use on flat seams) as well as double-sided (for use on contoured seams). Depending on your specific project needs either type may need to be utilized during installation process. Furthermore if the tape has been exposed to UV rays it may require some additional reinforcement by applying primer before its application onto the roofing surface itself.
When it comes time for actual seaming work – extra caution should always be taken when positioning these materials so that they fit snugly together while avoiding any gaps or wrinkles which could lead to water infiltration later down the line once finished product is complete. In addition specialized tools such as heat guns will need to be employed in order to help activate adhesive properties within said materials allowing them stick securely together without any issues along edges of seams themselves once cooled off afterwards.
Proper Adhesive Selection
Adhesive selection is an important factor to consider when installing TPO and EPDM roofing systems. Adhesives used in the installation of these membrane systems must be specially formulated for compatibility with each material, as well as compatible with the environment. For example, certain adhesives are not suitable for extreme temperatures or high-humidity environments. It’s also important to note that some adhesive products may contain solvents that could damage the membrane system over time. Therefore, proper selection of a compatible adhesive should take into account both short and long-term performance requirements of your project.
It’s essential to select a solvent-free product with good elasticity so it can move with the roof surface during thermal expansion and contraction cycles without cracking or breaking down over time. A strong bond strength between substrate materials is necessary to ensure optimal performance in all types of weather conditions while resisting any delamination or separation due to environmental elements such as wind uplift pressures or heavy rain events. Selecting an adhesive that has proven success in similar applications will provide added assurance of proper application technique and overall system longevity in years ahead.
Installing Flashings
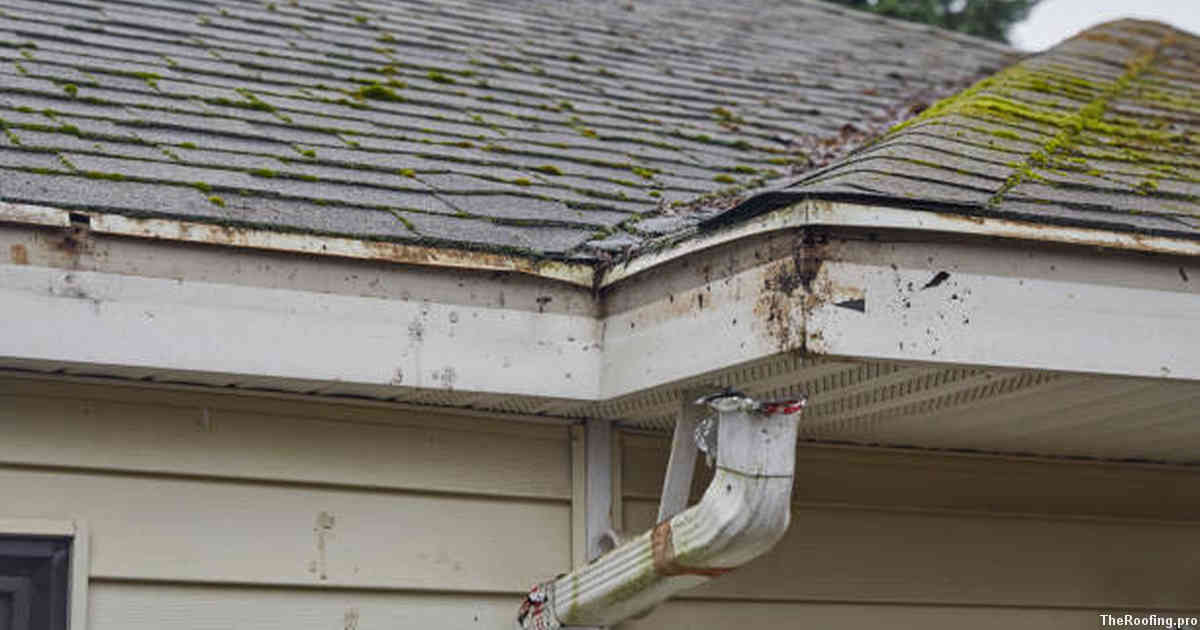
When it comes to installing flashings, there are several important considerations. The most important of these is that the flashing should be installed correctly to ensure a watertight seal and proper protection for the roofing membrane. Properly flashed roofs will help protect against moisture intrusion, which can cause serious damage over time if left unchecked.
The type of material used for the flashing is also an important consideration when installing flashings. Common materials include aluminum, copper, stainless steel and galvanized steel. Each material has its own advantages and disadvantages depending on climate conditions and other factors such as cost-effectiveness or aesthetic appeal. For example, aluminum may be more cost-effective but not as aesthetically pleasing compared to copper or stainless steel options; however, all three have excellent resistance against corrosion in moist environments making them suitable for long-term use in many different climates.
It’s also essential to properly install flashing accessories such as counterflashing sleeves or vents to create a continuous waterproof barrier around protrusions from the roof surface where additional protection is needed due to greater exposure from rainwater runoff or snow melt offs during winter months. Any cutouts made during installation must be sealed with appropriate caulking compounds so that no air leaks occur between two connected surfaces thereby compromising energy efficiency within buildings.
Seam Strengthening Techniques
When it comes to ensuring the longevity of your roof, seam strengthening is an important factor. Seams are especially vulnerable areas that require extra attention and reinforcement to prevent water from entering and compromising the integrity of your structure. With proper seam strengthening techniques, you can rest assured knowing that your roof will remain strong for many years to come.
One way in which you can strengthen a membrane seam is by using adhesive or tape-based products. By applying these materials directly over the seams on either side, they help to provide added protection against any leaks or water infiltration problems down the line. Some manufacturers offer special tapes specifically designed for use with their membranes which make installation easier and more secure overall.
In addition to tapes and adhesives, another option for reinforcing a membrane seam is through mechanical fastening systems such as screws or rivets. This technique involves attaching metal plates onto both sides of the joint area before securing them together with screws or rivets; this creates an even stronger bond than just relying on adhesives alone would provide. While this may be a bit more time consuming than other methods, it does ensure greater durability over time – something well worth considering when choosing how best to reinforce your membrane seams.
Safety Considerations
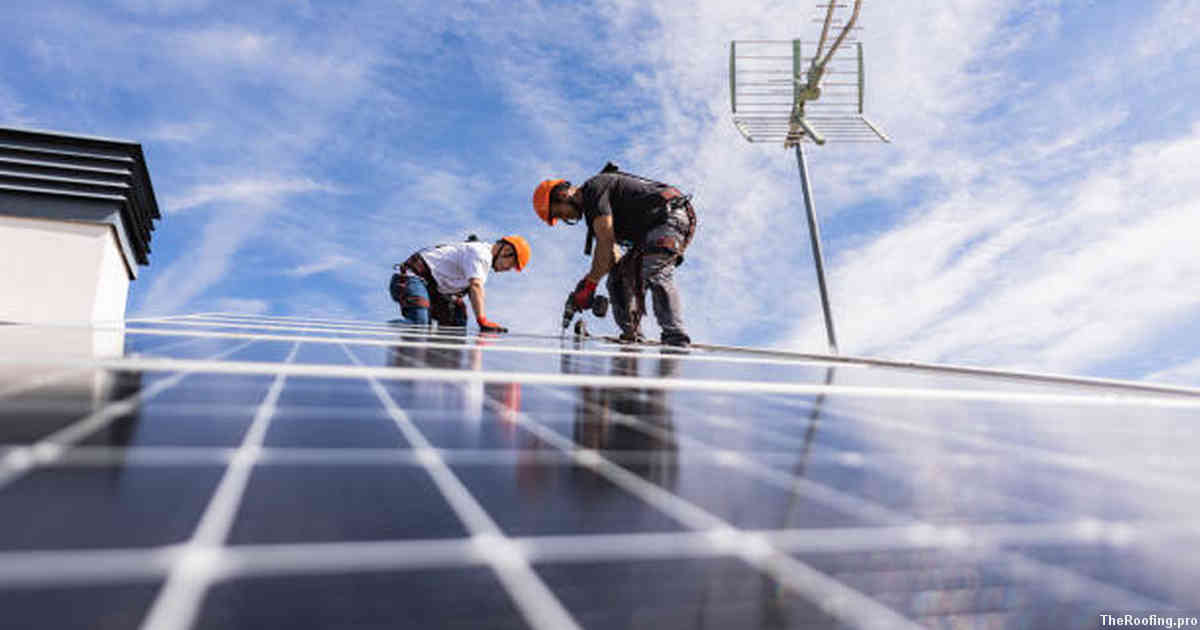
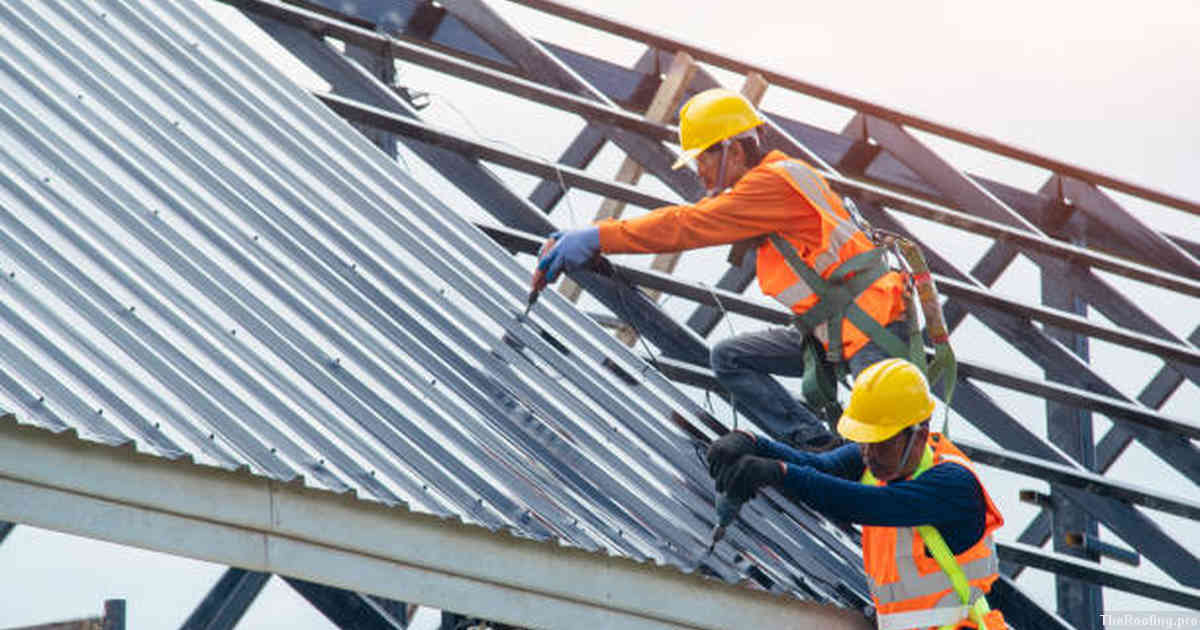
When installing TPO or EPDM roofing membranes, safety considerations are paramount. It is important to take the time to inspect any areas that require seaming and flashing prior to installation. This includes checking for loose materials, cracks in the surface, and other potential hazards. It is also important to make sure that all seams and flashing are properly installed according to manufacturer specifications in order to ensure a secure seal.
Safety gear should always be worn when working with these materials as well; gloves, masks, eye protection and hard hats should all be worn when working on this type of project. Taking proper safety precautions during installation will help prevent injuries or accidents from occurring due to improper handling of the material or tools being used. Following all instructions provided by the manufacturer will ensure that any warranties associated with your product remain valid after installation is complete.
Having an experienced installer who understands how these types of roofs function can also help reduce risk while ensuring a quality job overall; they can spot any potential issues before they become larger problems down the line which could potentially lead costly repairs if not addressed correctly right away.
Finishing Touches

Once the tpo & epdm membranes for roofing have been successfully installed, there are a few finishing touches that must be done to ensure long-term protection and durability. Seaming and flashing requirements should be taken into consideration in order to prevent any water leakage or damage caused by extreme weather conditions.
When it comes to seaming, some roofers opt for adhesives while others prefer welding tools as they provide more strength against high winds. Both methods require accurate measurements and precision in order to ensure optimal results. Moreover, ensuring proper overlap between seams is essential when using adhesive products as this will increase the waterproofing capabilities of the membrane. On the other hand, welding requires certain temperatures depending on which type of membrane you are working with – either tpo or epdm – and an experienced welder should always be consulted prior to installation.
Flashing is another important step that should not be overlooked when installing tpo & epdm membranes for roofing. It helps create a barrier around protrusions such as chimneys or vents which prevents water from entering those areas through cracks or openings in your membrane layer. Professional installers typically use metal flashing materials such as copper or aluminum due their resistance towards corrosion over time but also because they are lightweight yet strong enough to protect these particular areas effectively without compromising performance of your entire system.